
As I stood over the stove, the comforting aroma of simmering chicken and savory broth wrapped around me like a warm blanket. It was then that I realized how much joy a simple bowl of Quick and Easy Oyakodon can bring to a busy weeknight. This delightful Japanese chicken and egg rice bowl is not just a meal; it’s a warm embrace after a long day. With its quick prep time and one-pan convenience, Oyakodon transforms dinner from a chore into a delightful culinary experience. The tender chicken melds perfectly with a soft egg scramble, creating a dish that feels both nourishing and indulgent. Whether you’re looking for a cozy meal for one or something to impress family and friends, this is the answer. Ready to whip up a dish that’s both satisfying and soul-soothing? Let’s dive into the recipe!
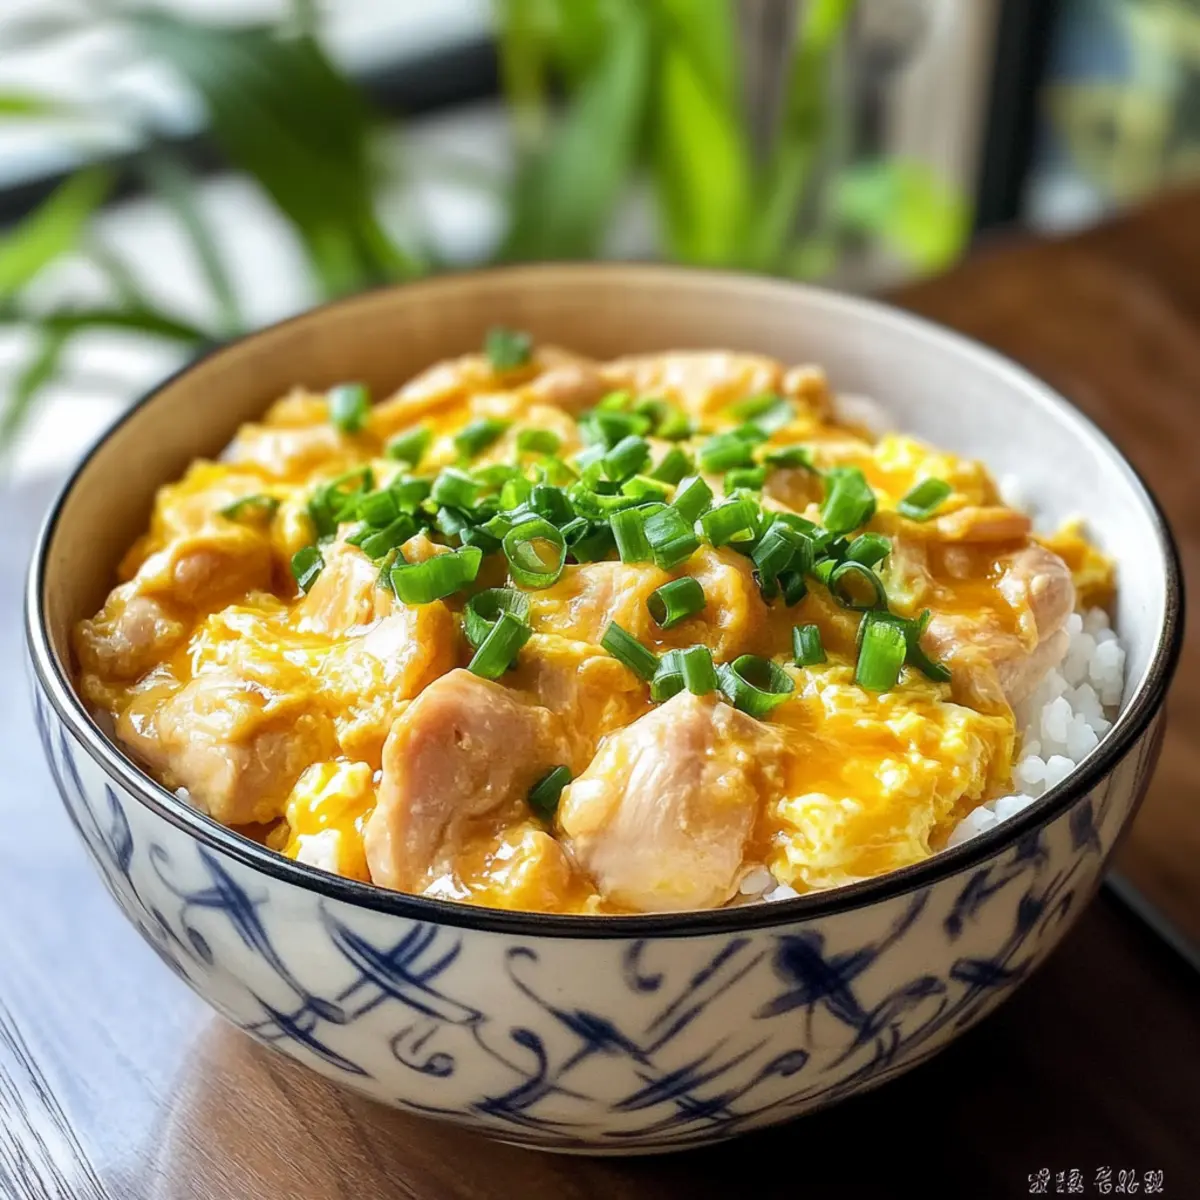
Why is Oyakodon the Perfect Comfort Food?
Simplicity at Its Finest: This Oyakodon recipe comes together in just one pan, making clean-up a breeze after a busy day.
Rich and Savory Layers: The delightful combination of chicken, eggs, and a sweet-savory broth creates a flavor profile that warms the soul.
Endless Customization: Feel free to personalize your bowl by adding vegetables or your favorite toppings for an extra boost of nutrition.
Quick Cooking Time: With just a few simple ingredients, you can whip this up in under 30 minutes—perfect for any weeknight!
Crowd-Pleasing Appeal: This dish is not only comforting but also a hit with family and friends, making it ideal for cozy gatherings.
With its delicious flavors and ease, this Oyakodon will quickly become a go-to recipe in your kitchen. Enjoy the warmth of home-cooked goodness that’s just a pan away!
Oyakodon Ingredients
• Here’s what you need for a cozy bowl of Oyakodon:
For the Chicken and Broth
- Chicken Thighs – Essential for juicy flavor and tenderness; chicken breast can be swapped if desired.
- Onion – Adds a sweet aromatic depth; make sure to use a medium onion, sautéing until nicely fragrant.
- Chicken Stock or Dashi – The base of your savory broth; vegetable stock works for a lighter alternative.
- Soy Sauce – Key for umami flavor; feel free to adjust to taste for optimal saltiness.
- Mirin – Provides a touch of sweetness; if you don’t have it, mix a bit of sugar and water as a substitute.
- Sugar – Balances the savory notes in the broth; a small amount goes a long way.
For the Egg and Rice
- Eggs – Create a delicate scramble that envelops the chicken; beat them gently to preserve texture.
- Cooked Rice – The perfect base for serving your donburi; freshly steamed rice is highly recommended for the best experience.
Optional Garnishes
- Green Onion – Adds freshness and a pop of color; chop finely for an appealing finish.
- Sesame Oil – A drizzle elevates the flavor; use sparingly for a rich finish.
- Nori – Dried seaweed strips provide a lovely touch; add some for an authentic Japanese flair.
- Togarashi – A sprinkle adds a spicy kick; perfect for those who like a bit of heat.
Gather these ingredients, and you’ll be ready to warm your heart with a comforting bowl of Oyakodon. Enjoy the process—it’s as delightful as the meal itself!
Step-by-Step Instructions for Quick and Easy Oyakodon
Step 1: Prepare Chicken Marinade
In a medium bowl, combine your chicken thighs with soy sauce, mirin, and sugar. Mix thoroughly to coat the chicken well, ensuring each piece is imbued with flavor. Let the chicken marinate for 5-10 minutes, allowing the seasonings to penetrate while you prepare other ingredients.
Step 2: Beat Eggs
Crack the eggs into a separate bowl and lightly beat them with chopsticks or a fork, gently breaking the yolks without overmixing. You want to maintain some distinct egg whites for a lovely texture in your Quick and Easy Oyakodon. Set the beaten eggs aside while you move on to cooking the vegetables.
Step 3: Cook Onion
In a small pan, bring your chicken stock or dashi to a gentle boil over medium heat. Add the sliced medium onion and sauté for about 1 minute, or until the onion becomes fragrant and translucent. This will add aromatic sweetness to the broth that creates the perfect foundation for your dish.
Step 4: Cook Chicken
Next, add the marinated chicken thighs to the pan, cooking each side for 1-2 minutes until they are nearly cooked through. Be sure to stir gently to avoid breaking the chicken apart. The chicken should take on a beautiful golden color as it cooks, blending in beautifully with the onion and broth.
Step 5: Add Eggs
Pour the beaten eggs evenly over the chicken and onion mixture in the pan. Allow the edges of the eggs to set, then lightly stir to create a soft scramble. Cook for an additional 1-2 minutes, until the eggs are slightly runny but cooked through, ensuring that the Quick and Easy Oyakodon remains creamy and comforting.
Step 6: Serve
Spoon the flavorful chicken and egg mixture over a generous serving of freshly steamed rice in bowls. Garnish as desired with finely chopped green onion, a drizzle of sesame oil, or a sprinkle of togarashi for added depth and flavor. Enjoy each warm, comforting bite of your delicious Oyakodon!
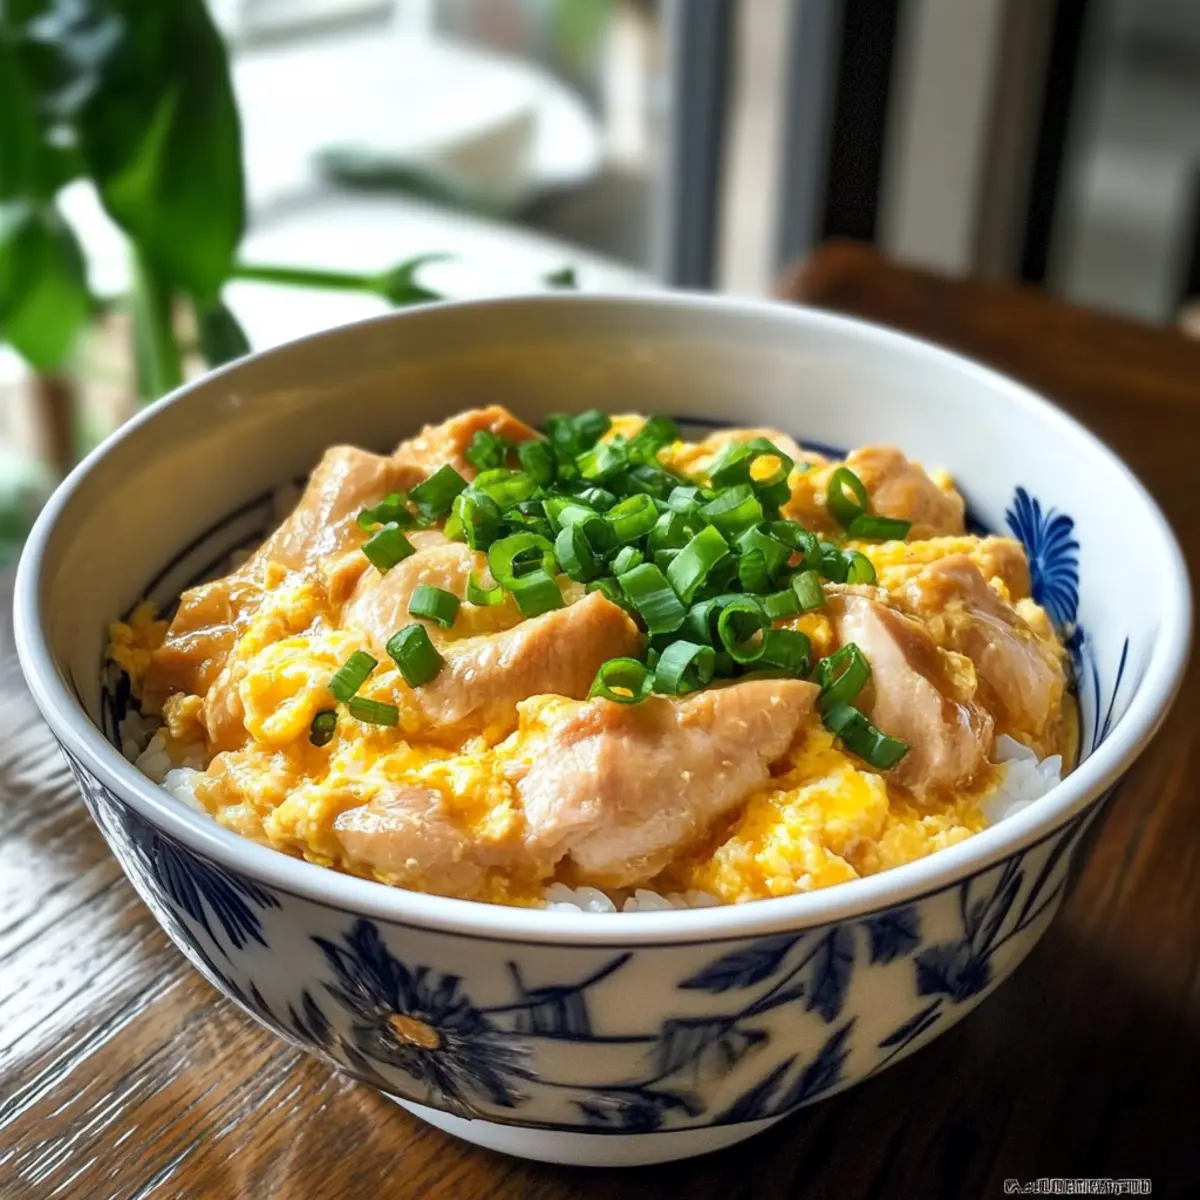
How to Store and Freeze Oyakodon
Fridge: Store any leftovers in an airtight container for up to 3 days. To enjoy your Oyakodon again, reheat gently on the stovetop, adding a splash of water to revive the broth.
Freezer: Although best enjoyed fresh, you can freeze Oyakodon for up to 1 month in a freezer-safe container. When ready to eat, thaw in the fridge overnight before reheating.
Reheating: Reheat slowly to preserve the texture of the chicken and eggs. Use low heat and stir occasionally to prevent sticking, ensuring that the flavors meld beautifully once more.
Food Safety: Always ensure that leftovers are cooled completely before refrigerating or freezing to maintain freshness and safety.
Meal Prep Tips for Quick and Easy Oyakodon
You can effortlessly prepare your Quick and Easy Oyakodon in advance, making weeknight dinners a breeze! Start by marinating the chicken thighs (with soy sauce, mirin, and sugar) up to 24 hours ahead for maximum flavor infusion, and slice the onion one day before cooking to save time. Additionally, cook the rice up to 3 days in advance, storing it in an airtight container in the fridge to maintain quality. When you’re ready to serve, simply sauté the onion, add the marinated chicken, and pour the beaten eggs over them for that exquisite scramble. This way, you’ll enjoy a comforting meal that tastes just as delicious as if you made it fresh!
Oyakodon Variations & Substitutions
Feel free to let your creativity shine by tweaking this delightful dish to suit your tastebuds!
- Vegetable Boost: Add sautéed bell peppers or spinach for a pop of color and extra nutrients. The subtle sweetness of these veggies complements the rich broth beautifully.
- Mushroom Medley: Stir in shiitake or enoki mushrooms; they add an earthy taste and delightful texture. Simply sauté the mushrooms until tender before mixing them with the chicken.
- Spicy Kick: For those who love a bit of heat, sprinkle in some red pepper flakes or drizzle a touch of sriracha before serving. It brings an exciting flavor that invigorates every bite!
- Gluten-Free: Swap soy sauce with tamari or coconut aminos for a gluten-free version of this dish. This modification won’t compromise flavor and still keeps it deliciously satisfying.
- Vegan Delight: Use tofu instead of chicken and replace eggs with a mixture of silken tofu and nutritional yeast for a creamy plant-based alternative. Cook until heated through, creating a comforting bowl that everyone will love.
- Creamier Eggs: For an ultra-rich scramble, whisk a tablespoon of cream into the eggs before adding them to the pan. It adds a luxurious texture that elevates your Oyakodon.
- Herbal Freshness: Consider tossing in fresh herbs like cilantro or basil right before serving to add a bright, aromatic finish. They lend a lovely fragrance that mingles beautifully with the savory broth.
- Rice Alternatives: Instead of traditional rice, try serving your Oyakodon over quinoa or soba noodles. These alternatives infuse a nutty flavor while maintaining the comforting essence of the dish.
For more tempting variations using wholesome ingredients, check out our guide on how to add fresh herbs for flavor, or discover ways to elevate your meals with homemade vegetable stock!
What to Serve with Quick and Easy Oyakodon
A simple bowl of Oyakodon is a delightful centerpiece, but pairing it with the right sides and extras can elevate your meal into a feast for the senses.
-
Cucumber Salad: A refreshing crunch that balances the rich flavors of Oyakodon, this salad adds a zesty contrast to each bite.
-
Pickled Vegetables: The tangy acidity of pickled veggies complements the savory broth, cleansing the palate pleasantly between mouthfuls.
-
Miso Soup: A warm, umami-rich miso soup pairs harmoniously with the dish, enhancing the overall experience with its comforting warmth.
-
Steamed Broccoli: Lightly steamed broccoli provides a nutritious side, and its slight bitterness pairs beautifully with the sweet-salty notes of the donburi.
-
Sesame Noodles: A luscious dish, the nutty flavor and soft texture of sesame noodles offer a delightful contrast, making the meal extra special.
-
Jasmine Tea: Serve a pot of aromatic jasmine tea alongside your bowl; its floral notes will enhance your dining experience beautifully.
Embrace the magic of these pairings for a wholly satisfying experience that wraps you in warmth and joy!
Expert Tips for Quick and Easy Oyakodon
Silky Eggs: Beat the eggs gently until just combined; this keeps them soft and fluffy in your dish.
Marinate Well: Don’t rush the chicken marinade; letting it sit for 5-10 minutes enhances the flavor significantly.
Watch Cooking Times: Keep an eye on the chicken while cooking. Overcooking can lead to dry meat, so aim for tender and juicy thighs.
Rice Quality: Use freshly steamed rice for the best experience; it absorbs the broth beautifully, enhancing the overall flavor of your Oyakodon.
Add Vegetables: If incorporating vegetables or mushrooms, sauté them separately first to maintain their texture and flavor in the broth.
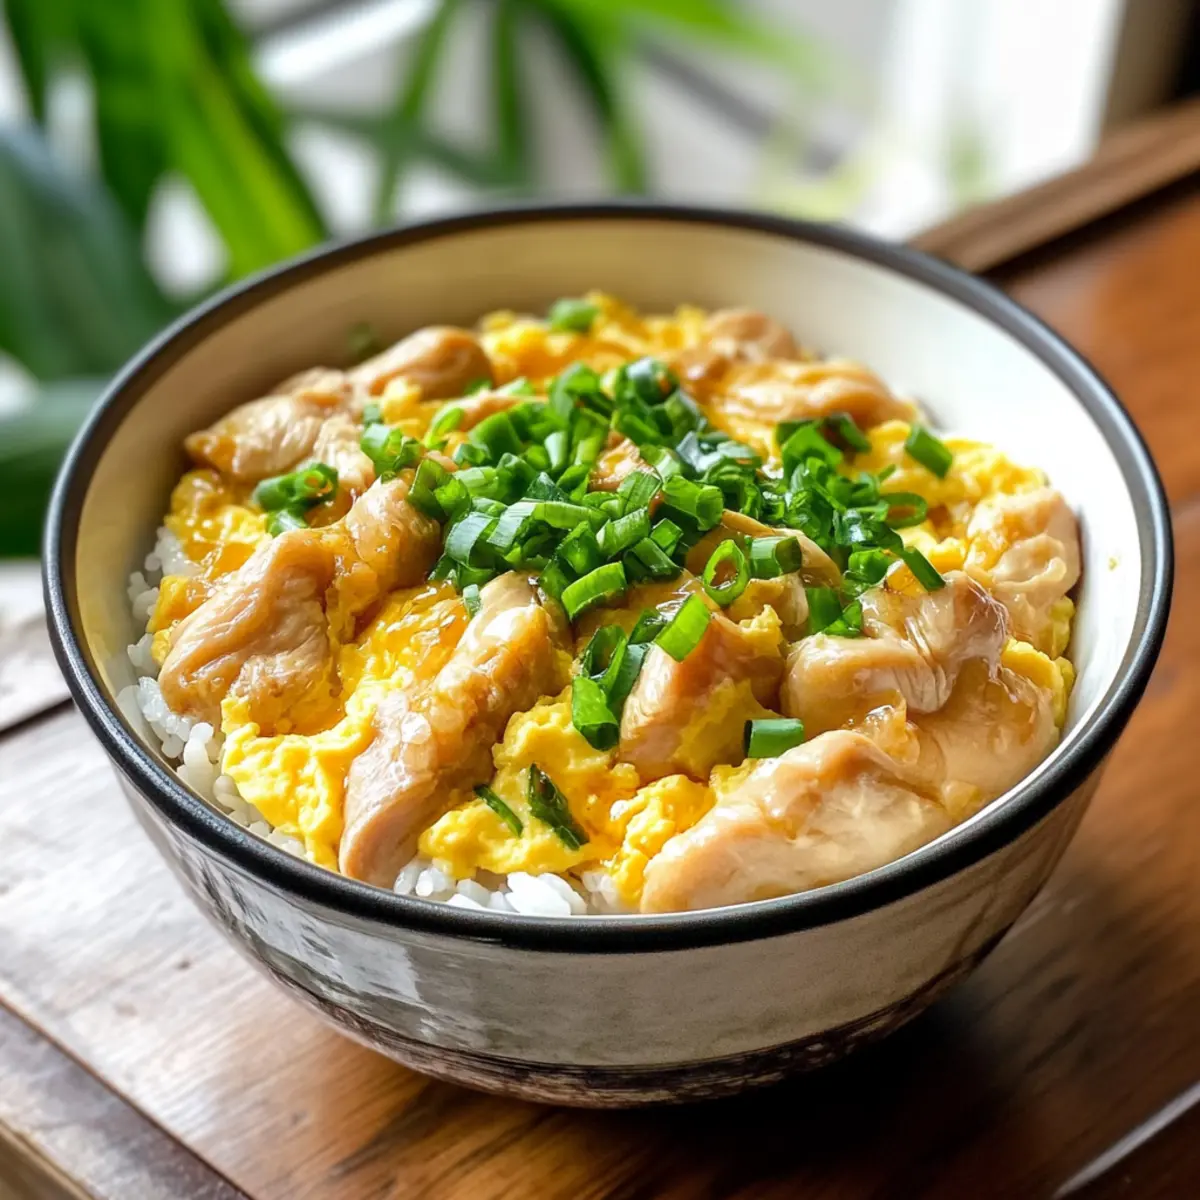
Quick and Easy Oyakodon Recipe FAQs
How do I choose the right chicken for my Oyakodon?
Absolutely! For the best flavor and texture, I recommend using chicken thighs, as they are more tender and juicy. If you prefer, chicken breast can be used, but keep in mind that it may dry out a bit more rapidly. Look for thighs that have a nice sheen and are free of any dark spots.
How should I store leftovers from my Oyakodon?
To keep your Oyakodon fresh, store leftovers in an airtight container in the refrigerator for up to 3 days. When it’s time to enjoy it again, gently reheat it on the stovetop with a splash of water to revive the broth for a comforting meal.
Can I freeze Oyakodon and, if so, how should I do it?
Certainly! While I always recommend enjoying this dish fresh, you can freeze Oyakodon for up to 1 month. To freeze, let the dish cool completely and then transfer it to a freezer-safe container. When you’re ready to eat, thaw it in the refrigerator overnight, then reheat gently on the stovetop, stirring occasionally to maintain the creamy texture.
What should I do if the eggs are overcooked in my Oyakodon?
Very! If you find that your eggs have cooked too much and are no longer soft and silky, try lowering the heat next time and adding them to the pan just as the chicken is nearly done. Remember to pull the pan off the heat before the eggs fully set to allow for a soft scramble.
Are there any dietary considerations for making Oyakodon?
Absolutely! If you or someone in your household has allergies, substitute ingredients as needed. For gluten-free adjustments, look for gluten-free soy sauce (like tamari) and vegetable stock instead of dashi. You can also make it a vegetarian dish by replacing the chicken with tofu or adding more vegetables for a nutritious twist.
What can I substitute if I don’t have mirin on hand?
If you’re out of mirin, no need to worry! You can easily create a substitute by mixing one tablespoon of sugar with one tablespoon of water. This will provide that sweet complexity that mirin typically offers, ensuring your Oyakodon still packs plenty of flavor.
Enjoy the process of creating this delightful bowl of comfort!
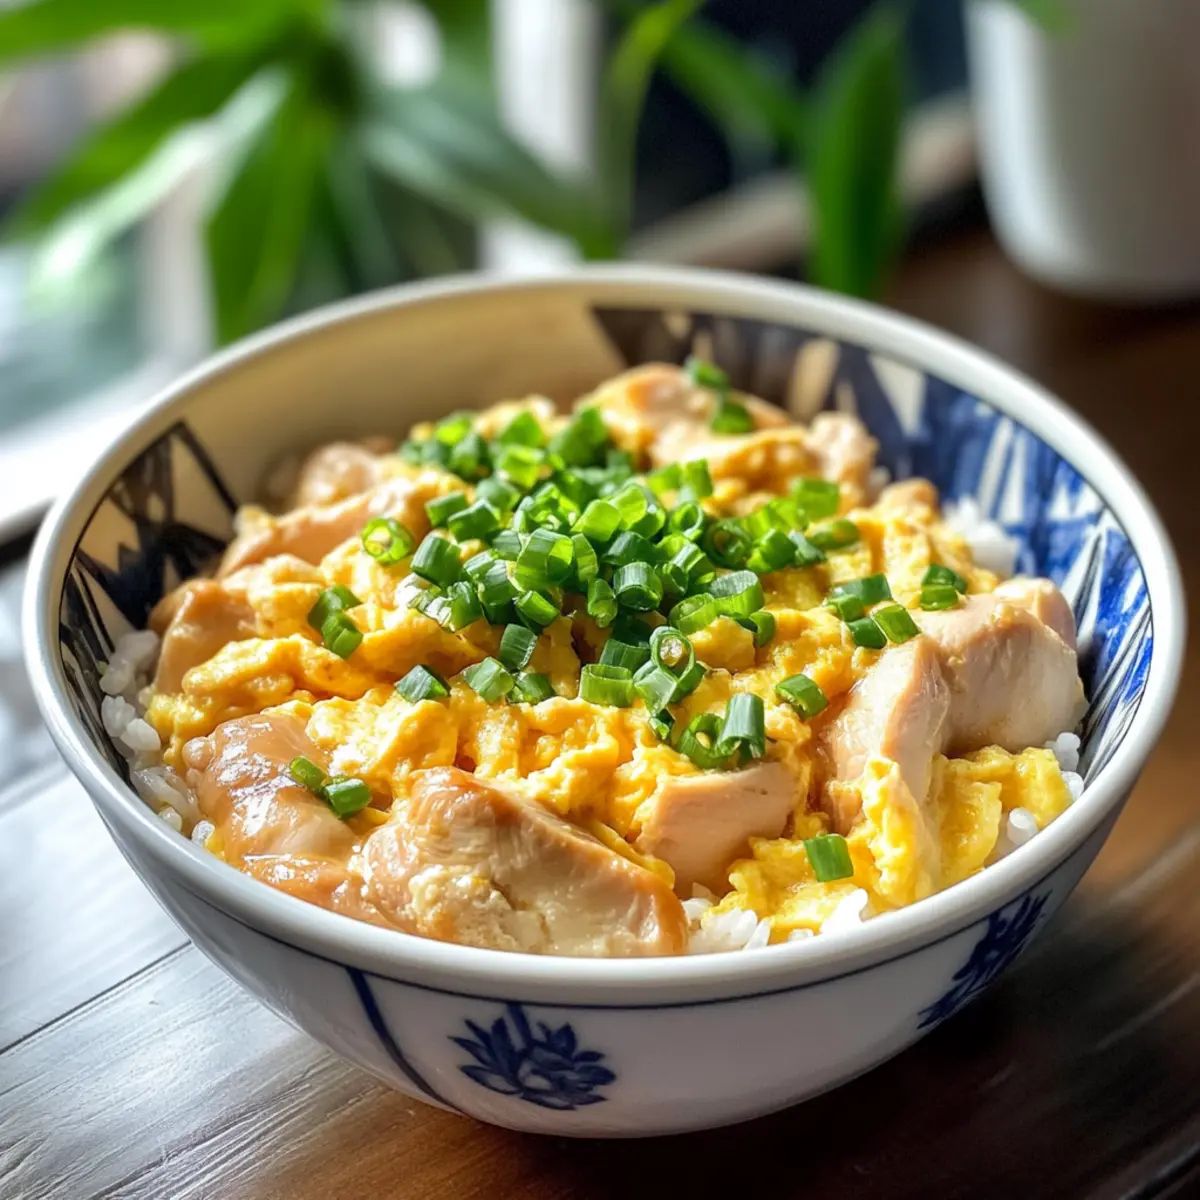
Quick and Easy Oyakodon for Cozy Nights at Home
Ingredients
Equipment
Method
- In a medium bowl, combine chicken thighs with soy sauce, mirin, and sugar. Mix thoroughly and marinate for 5-10 minutes.
- Crack the eggs into a separate bowl and lightly beat them. Set aside.
- In a small pan, bring chicken stock or dashi to a gentle boil. Add sliced onion and sauté for about 1 minute.
- Add the marinated chicken thighs to the pan, cooking each side for 1-2 minutes until nearly cooked through.
- Pour the beaten eggs evenly over the chicken and onion mixture. Cook until slightly runny but set.
- Spoon the chicken and egg mixture over freshly steamed rice in bowls and garnish as desired.
Leave a Reply